

In order to setup the graphical simulation environment within the redBlocks Simulator, we do not use the Simulator project file "HelloWorld.rbp", that was created with the C example application and is located in "emWin_Demo\sim". Thus, you can simply delete this file.
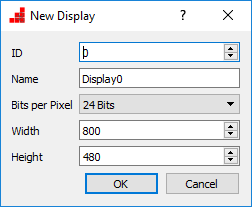
Therefore, start the redBlocks Simulator and select the menu item "Project -> New" in order to create a blank project. After that, bring up the dialog "Configure Interfaces" (Menu: "Project -> Configure Interfaces") and create a new display interface with the following parameters (the washing machine example works on a display with 800 x 480 pixels and we want to use a color depth of 24 bits):
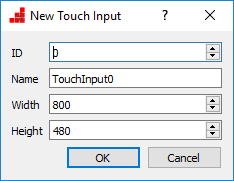
After that we create a touch interface with the same dimensions:
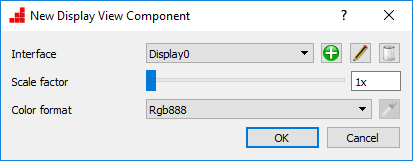
After closing the dialog "Configure Interfaces", we need to define the respective components.
1. Display (Menu: "Components -> Add View Component -> Display -> Display"):
2. Touch Panel (Menu "Components -> Add View Component -> Touch Input-> Touch Panel"):
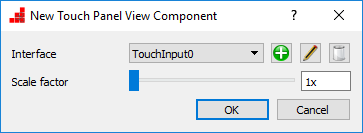
These both components need to be placed exactly above each other (by having created the display first, the touch panel is located on top - otherwise the component's level can be adjusted via the context menu).
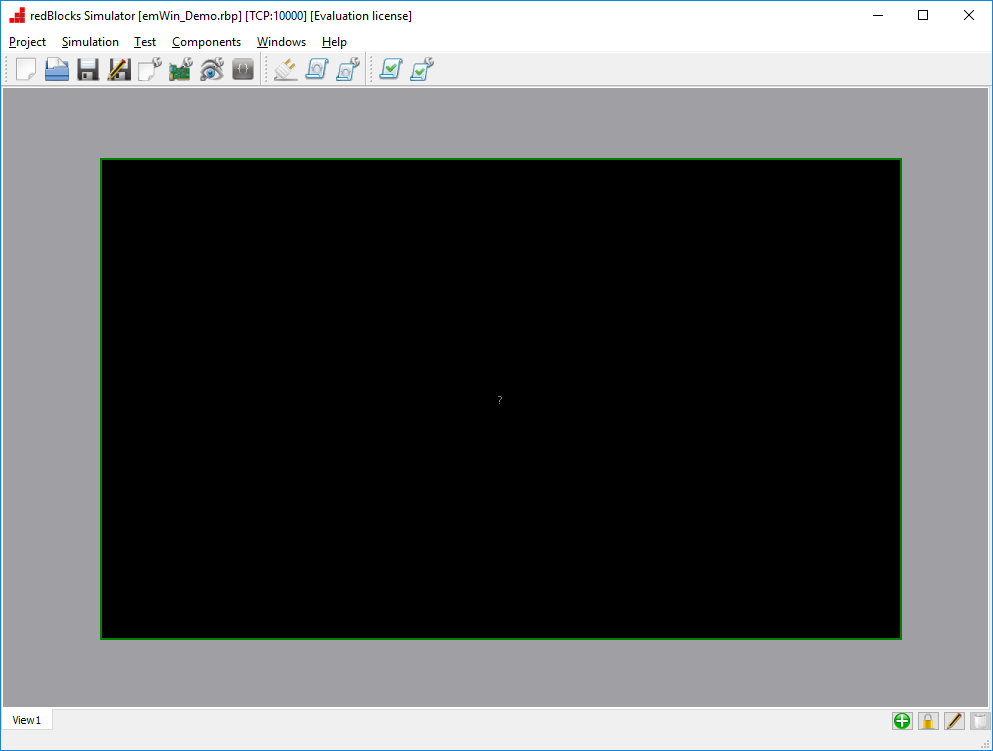
After that the simulator window should look like that:
That's all that needs to be done within the redBlocks Simulator. In the next step we need to return to the redBlocks Workbench and modify a few lines of code in order to make the emWin example run.